The Hakanoa Handmade Step-By-Step Guide to Home-Fermented Ginger Beer
INTRODUCTION
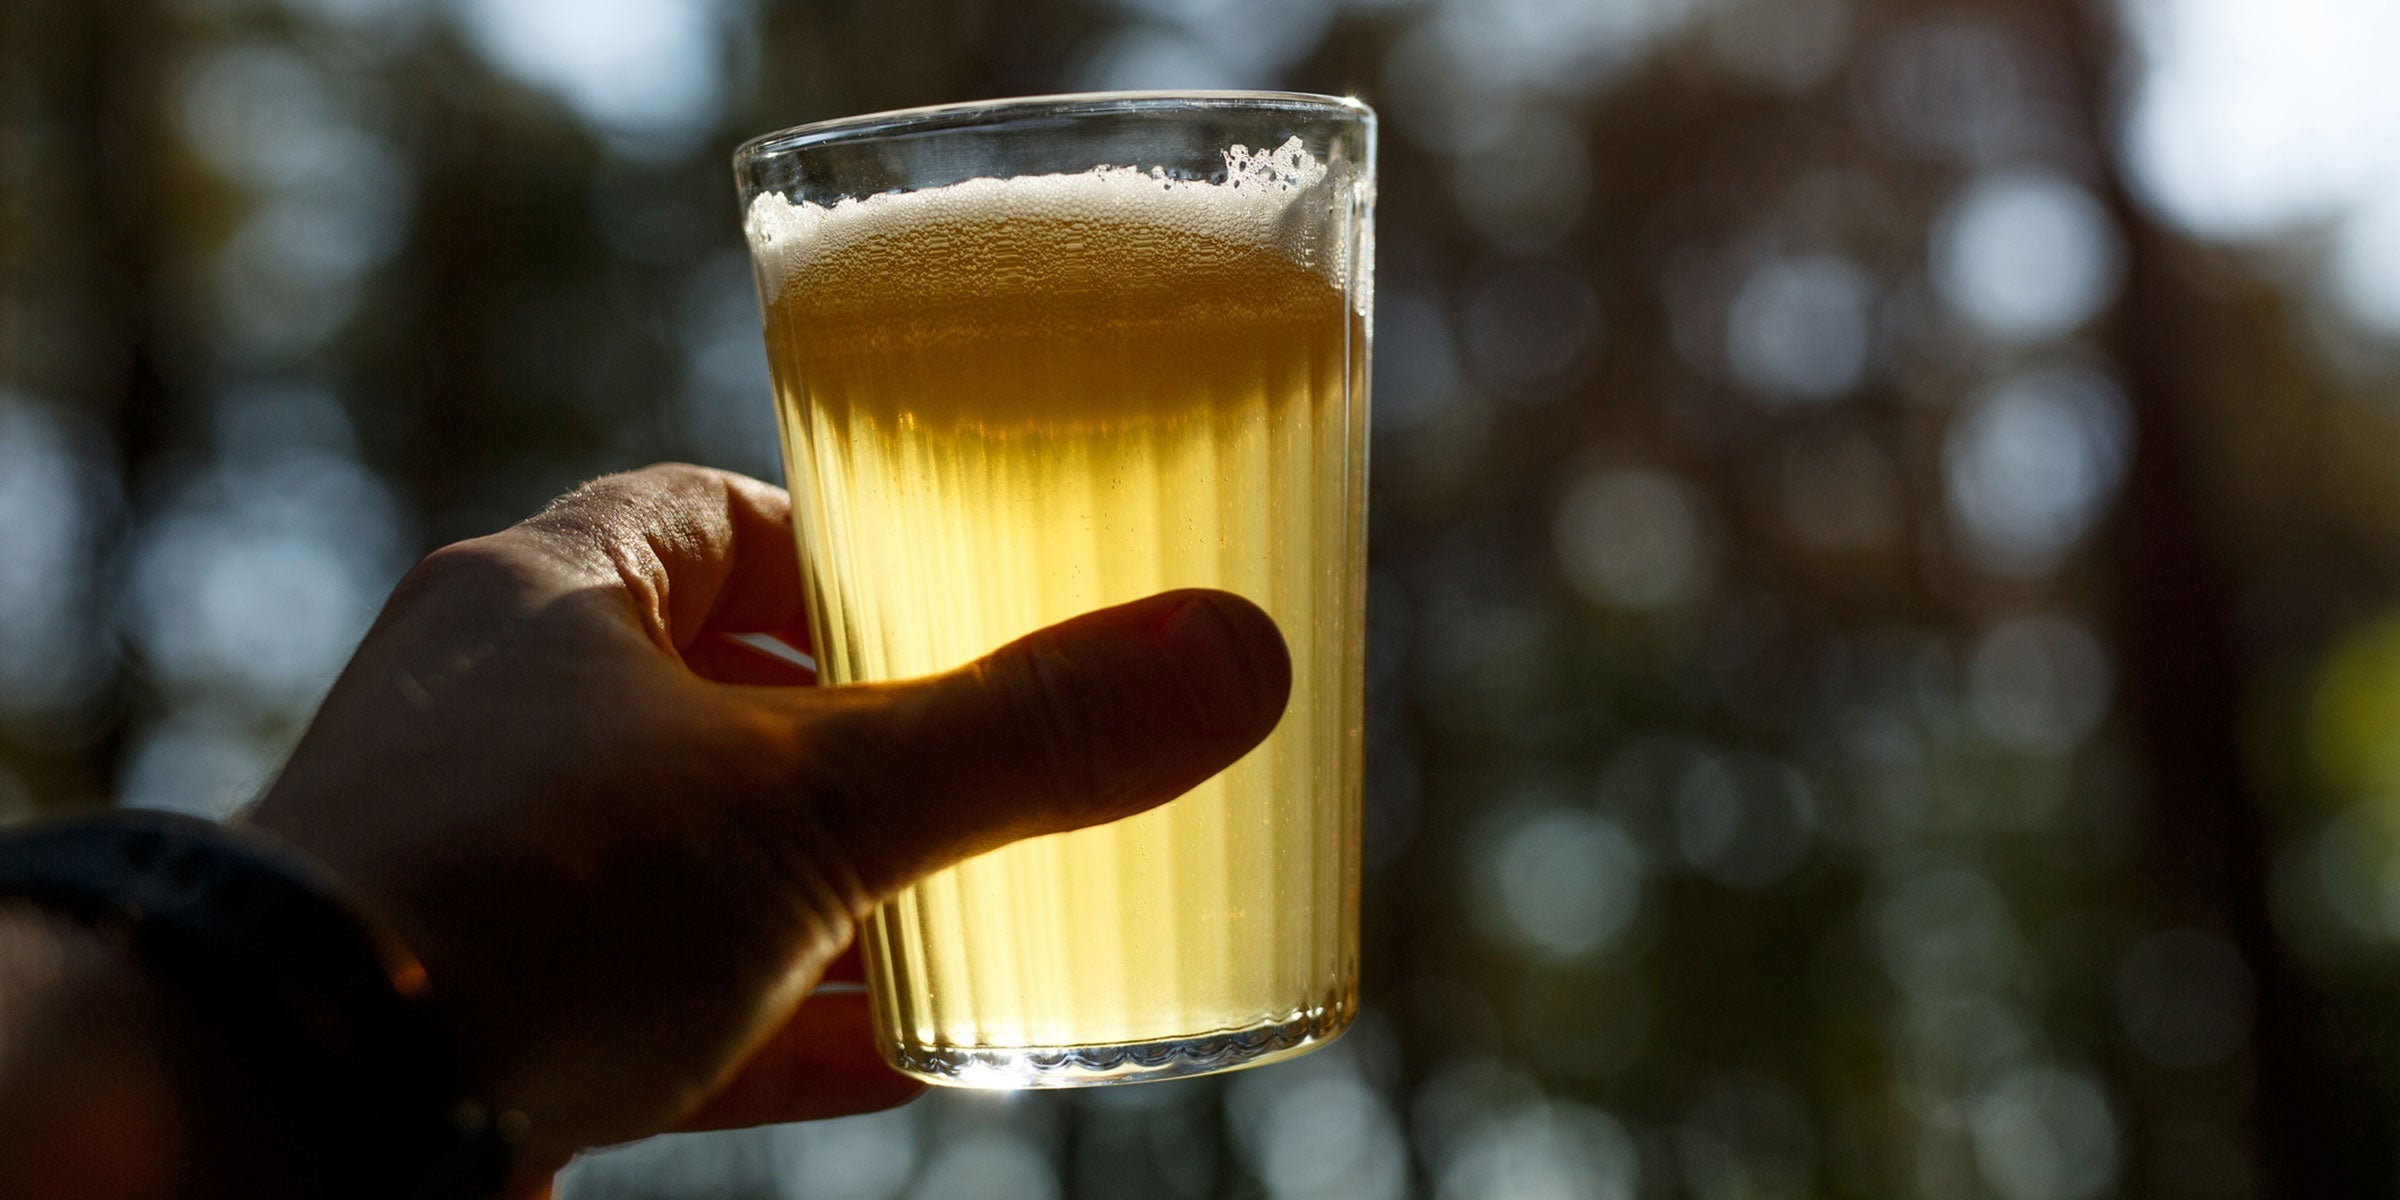
I am going to show you how to make the ginger beer that started Hakanoa Handmade Drinks.
It was our signature drink for our first 5 years, and I can tell you categorically making it this way is not a viable money-making proposition!
It is delicious, fun to make, and you do not need to be an expert to make really good stuff, but it can be dangerous if not stored carefully.
The secret to making good ginger beer is you.
Successful fermentation needs regular observation and tending. You need to develop a rhythm that suits your situation.
A rhythm that suits your timetable, your kitchen, and the amount of ginger beer that your household and neighbours can drink in a week.
Once you have a routine making a regular smallish amount, it’s easy to go bigger for special occasions.
Although we’ll talk a bit about the science, remember that people in households all over the planet have been making beer & bread & wine & vinegar & sauerkraut & kombucha for many thousands of years. They all learned with a bit of trial and error. The important thing is that you watch what happens in your situation and learn from that.
Some of your brews might be a bit wonky, but every one will be drinkable if you follow my recipe, and they’ll all be a version of your perfect home-made probiotic soda.

Our original label for unpasteurised Dry Ginger Beer back in 2009 carried a warning…
GETTING STARTED
To start with, here is the recipe itself. This is pretty much everything you need to know to make good ginger beer.
GINGER BEER RECIPE – DOWNLOADABLE PDF click here
If you don’t have any of my ‘bug’ to get you started, it is very easy to make your own;
Fill a large clean bottle or jar about 2/3 with water. For 1 litre of water, add 1 tbsp of cleaned-but-not-peeled chopped or grated fresh ginger and the same amount of sugar. Stir well. Cover with a cloth or a LOOSE lid. Repeat the ginger & sugar feeding daily until you see bubbles. This will take anywhere from 5 days in really warm weather to 15 days in cool weather.
GEAR
- A jar & a clean cloth to hold 1 litre of ‘bug’
- when growing your ‘bug’ you want some air flow – air has wild yeasts and lactobacilli which you want in your bug, but germ colonies grow on dust particles so keep those out.
- A lidded vessel fitted with a gas exchanger to hold 4 litres of ginger beer
- This is for your primary ferment, where you want to keep air out and but you need CO2 to be released. It’s ok that you take the lid off and check the ferment, some air isn’t going to kill it. But you want to avoid introducing lots of new microbes once the primary ferment is happening.
- Enough plastic bottles with lids to hold 4 litres of ginger beer; 8 x 500ml, or 6 x 750ml, or 4 x 1000ml
- A note about bottles; glass is lovely stuff, and you can get very thick glass bottles that are safer than most if you hunt around. Here are these very thick glass swing-top bottles, and the old ‘stone’ bottles that were used back in the day. Even these can shatter if they have enough internal pressure. BUT your average bottle is thin glass, with ‘do not refill’ on it, and is not safe for home-made ginger beer. If the bottles are left too long, they will blow the tops off if you’re lucky, and shatter the glass if you are not. I have heard literally thousands of exploding bottle stories in the past 10 years, including a missing eye and a badly scarred hand. Some of them were funny – the guy that used an open suitcase as a shield when approaching the corner of the garden shed with ginger beer stored in it, the family that put it all under their bed and thought they were being shot at when it exploded at 2am. If you must use glass then be incredibly cautious and store in an enclosed space where shattered glass cannot scatter. Wear glasses when you handle the final brew. Or, RECOMMENDED do what I did when I was making a live ginger beer, and put it in PET plastic bottles. They are safe to 5 atmospheres – that means they will swell up to 3 times the original size before they explode. They will not shatter. OK, you can’t sterilize them with good old boiling water. But the small extra effort it takes to make and use a sterilizing solution is worth the saving in sheer anxiety and risk.
INGREDIENTS:
- Fresh ginger root
- Sugar
- Dried powdered ginger (this is much hotter than fresh)
- A note about ginger; gingerol is the active ingredient and main flavour component of ginger, and is pretty attached to the cellulose in the root. To release it you need to either cook it or grate it finely. It has a strong ginger taste but is quite raw and harsh. Cooking ginger transforms gingerol to zingerone, which is softer and smoother in flavour. Drying ginger creates compounds called shogaols which are much hotter than gingerol. All 3 compounds are beneficial. Google gingerol and you’ll see there are plenty of studies.
- Lemon Juice.

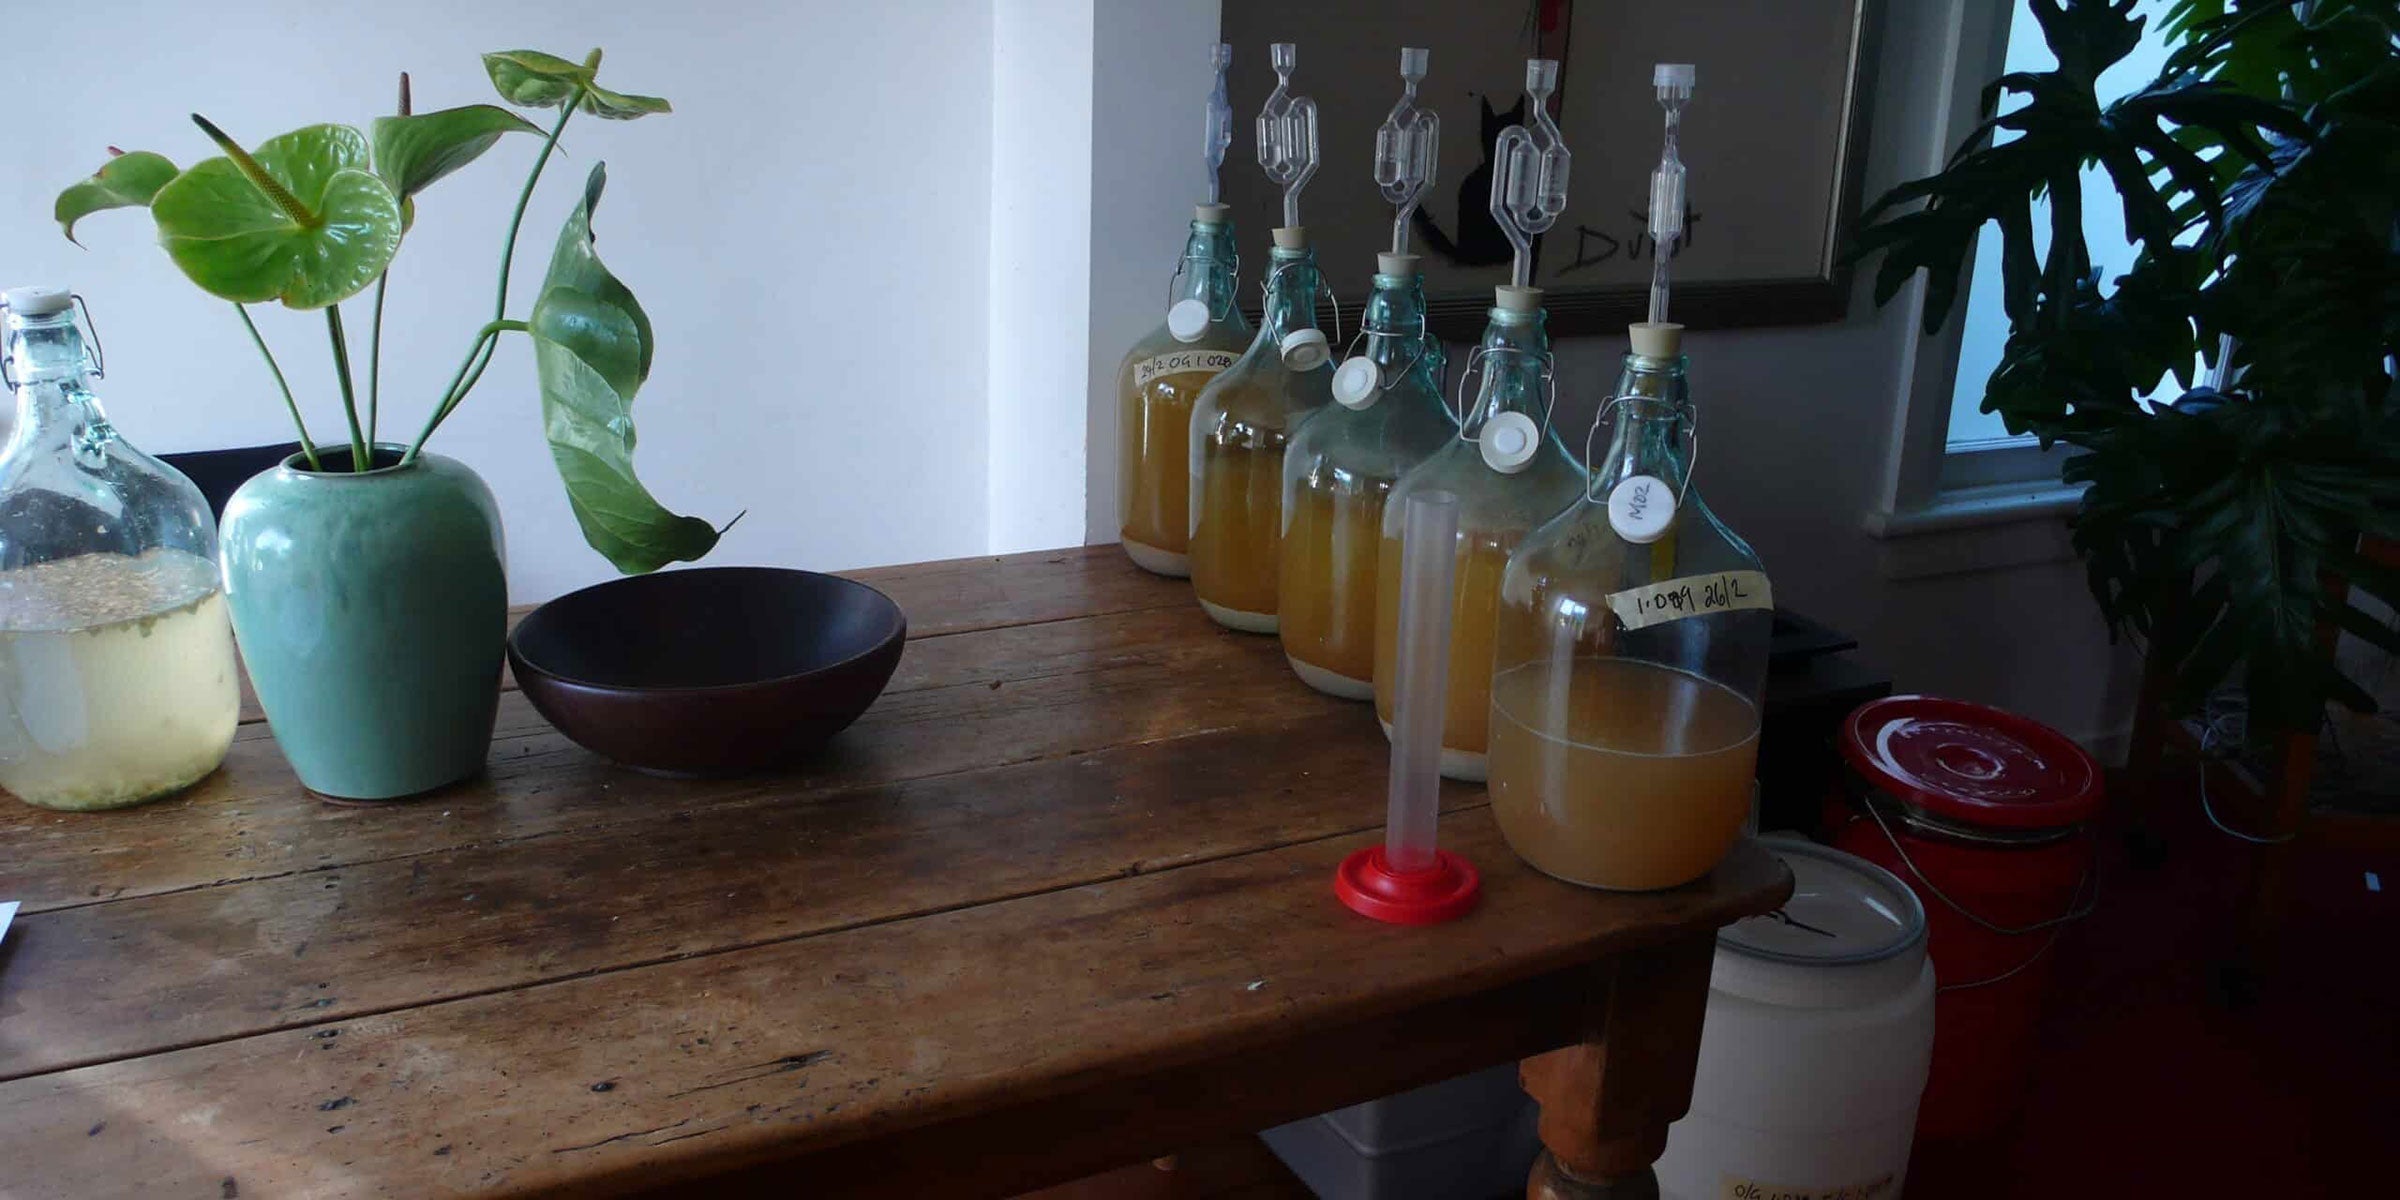
That’s a flagon of live Hakanoa ginger beer on the left, and a jar of Hakanoa ‘bug’ sitting behind. All of our ingredients are in front.
GENERAL FERMENTATION INFORMATION
Stage 1. Build up your bug to 1 litre
- Add water to make 1 litre, then feed every day with 1 tablespoon each sugar & fresh ginger (chopped or grated).
- Keep the lid on but loosened, or cover with a clean cloth.
- When you are seeing little foam & bubbles moving around even though you haven’t touched it, taste it.
- Run the liquid over the front of your tongue.
- Can you detect fizz? Has yesterday’s sweetness been ‘eaten up’ and now it tastes a bit tart?
- The perfect bug should taste like dry cider.
- When you are confident the answer is yes, your bug is ready to brew with.
- Troubleshooting – is it not developing fizz? Does it taste quite sweet, like maybe the sugar isn’t being eaten up?? You could be feeding it too much sugar which will kill the microbes. If you’ve over-fed with sugar, tip some out, add more water, and keep feeding it daily as before but use less sugar. Also the jar might need to be in a warmer place.
- You’ll use most of this, then start start Stage 1 again with the remaining 10%. It’ll be ready for next week’s brew.
Your ‘bug’ is a colony of microbes. You job is to to feed the colony a bit of sugar and ginger every day, or often enough for it to stay healthy. Ideally it will get bigger and more vigorous every day until the day that you are ready to brew some ginger beer. Then you’ll use most of it to do that, and leave a bit behind to start again for next week.
- There are 3 kinds of fermentation.
- Yeast fermentations. Yeasts are from the fungus family. Yeast eats starches & sugars and produces CO2 & alcohol. Best known products are mass-produced bread, most beers & wines. There are lots of types.
- Acetic fermentations. Acetobacter are bacilli that eat ethanol (the alcohol produced by yeast) and produce acetic acid. Best known product is vinegar.
- Lactic fermentations. Lactobacilli produce lactic acids & CO2. We know them best from their presence in sourdough bread, sauerkraut, and yoghurt. You can buy bacilli that have been grown in a lab. That’s what kefir granules are.
- Wild fermentation means using the wild yeasts and lactobacilli present on whatever you are starting with.
- In the case of sauerkraut – what is on the cabbage, in the case of sourdough – what is on the flour, and in the case of ginger beer – what is on the ginger root.
- Also the wild yeasts and lactobacilli present in the atmosphere of the place you are making it, and on your hands, and even in your tap-water. Your situation is unique, so your ferments will be unique.
- There are 180 strains of lactobacilli, all of them beneficial.
- During the fermentation process, all the microbes (yeasts & lactobacilli) break down sugars and starches into alcohols and acids and CO2, making food more nutritious and preserving it so people can store it for longer periods of time without it spoiling.
- Fermentation increases B and C vitamins and enhances folic acid, riboflavin, niacin, thiamin, and biotin. Fermentation also produces enzymes necessary for digestion.
- The probiotics, enzymes, and acids in fermented foods facilitate the absorption of vitamins and minerals into the body.
- The preservation happens because pathogens cannot thrive in the acidic environment fermented foods create. Sauerkraut is a perfect example of this – once the sugars in the cabbage have been fully fermented by the lactobacilli, the lactic acid produced will knock out any pathogens (bacteria that cause illness and death like botulism). The good microbes are also no longer thriving as they’ve eaten all the starches and sugars. But the vitamins & minerals in the fresh cabbage are not only all there, they are even easier to digest than fresh.
- Live probiotics are beneficial to be sure, but just the process of fermentation produces huge nutritional benefits; The perfect example here is sourdough bread. As the wild yeasts and lactobacilli in the sourdough culture break down the starches and sugars from the flour, they also release vitamins and minerals as well as protein from the wheat. The bread is then baked. No more live culture, but the good work has been done.
As an aside – to give you a real hands-on understanding of this – compare 3 kinds of bread;
Mass-produced white sliced with yeast, mass-produced ‘sourdough’ and a real sourdough (my current fave is the Pioneer loaf from Daily Bread) All of the loaves are 99% white flour, water & salt. Notice how soft the crumb & crust of the mass-produced loaves are. See the stiffness in the crust and the shiny interior of the crumb on the sourdough. That stiffness and shine are the proteins from the wheat that have been released along with the vitamins and minerals. Taste the mass-produced bread and compare it to the sourdough. That tanginess of the crumb, the savouriness of the crust, and the overall chewiness are all made by the ferment. The strength of the crumb & crust is testament to all the proteins that have been released by the fermentation process. Here’s an easy test how to tell if a loaf of bread is healthy or not; does it hurt when you drop it on your toe? No = not healthy.

- The ginger beer recipe I am teaching you about today is a probiotic soda, because it is a wild ferment, using the wild yeasts and lactobacilli on the ginger root. The culture / bug/ plant we are using will ferment or ‘eat’ the sugar, and the starches from the ginger, and the by-product from that will be lactic acid, CO2, and alcohol.
- You won’t be able to stop the culture eating the sugar and starches. It’s just going to keep going until it’s eaten everything. The trick to all of this is you need to drink your ginger beer – and those live microbes – before they’ve eaten all the sugar. If you wait, the ginger beer will be sour because no sugar will be left, just the lactic acid and water. It will not be probiotic because nothing left for microbes to eat means microbes will die.
- The non-probiotic kinds of ginger beer are fermented / brewed with yeast. Yeast is amazing stuff, I love it, but it is from the fungus family and it can produce some interesting flavours – ranging from that lovely toasty yeasty smell of fresh baked bread to the barnyard smell of a ripe cheese. Great if you’re making cheese. Not so great if you’re making ginger beer. Also, it doesn’t make any acids, and those acids really make a nice crisp thirst-quenching drink. So those recipes generally require additional tartaric acid, or citric acid. Which will always taste precisely the same, so you miss out on the unique part of making your own. Chelsea Sugar has a recipe for this kind of ginger beer made with a yeast ‘bug’. It’s this style of ginger beer that all mass-produced ones are referencing when they talk about ‘old-fashioned’ ginger beer. Overly sweet, not very gingery, and not nearly as refreshing as ours.
- Ours is a lactic fermentation. So we have wild lacto bacillus and wild yeasts making lactic acid, co2 & alcohols. By only feeding the bug with ginger & sugar, we keep the yeasts low and the lactobacillus high. Yeasts will reproduce faster than the bacilli and take over given the chance, so don’t encourage them by adding yeast or fruit.
- All mass-produced ginger beers are made with a brewed ginger extract made from bakers yeast and dried ginger, to which they add carbonated water, sweeteners, flavours and preservatives. Except for Hakanoa of course.
MAKING YOUR GINGER BEER TASTE OF GINGER
Stage 2. Make a flavour base;
- Mix or cook together your ginger & sweetener & flavourings.
- You can and should experiment with these. You are making your own ‘cordial’ so taste it by diluting it with water until you feel you have a good balance.
- I recommend all flavourings for your primary ferment are cooked to make a more stable ferment.
- Raw ingredients contain enzymes that will make your ferment more lively, less predictable.
- A lot of recipes just use grated raw ginger, and it will turn out well but it will be more raw tasting.
- Use a strainer when adding your flavour base and your bug to the brewing vessel.
- Fibres & chunks of ginger etc don’t hurt the brew but they are a real nuisance when you’re bottling.
Basic recipe to make enough flavour base for 4 litres of ginger beer;
- 3 cups water
- 1 cup sugar
- 1/3 cup fresh ginger, grated
- 1 tbsp dried ginger
- 100mls lemon juice
Simmer together for 2 hours over a low heat.
Allow to cool, then strain through a fine sieve into your brewing vessel.
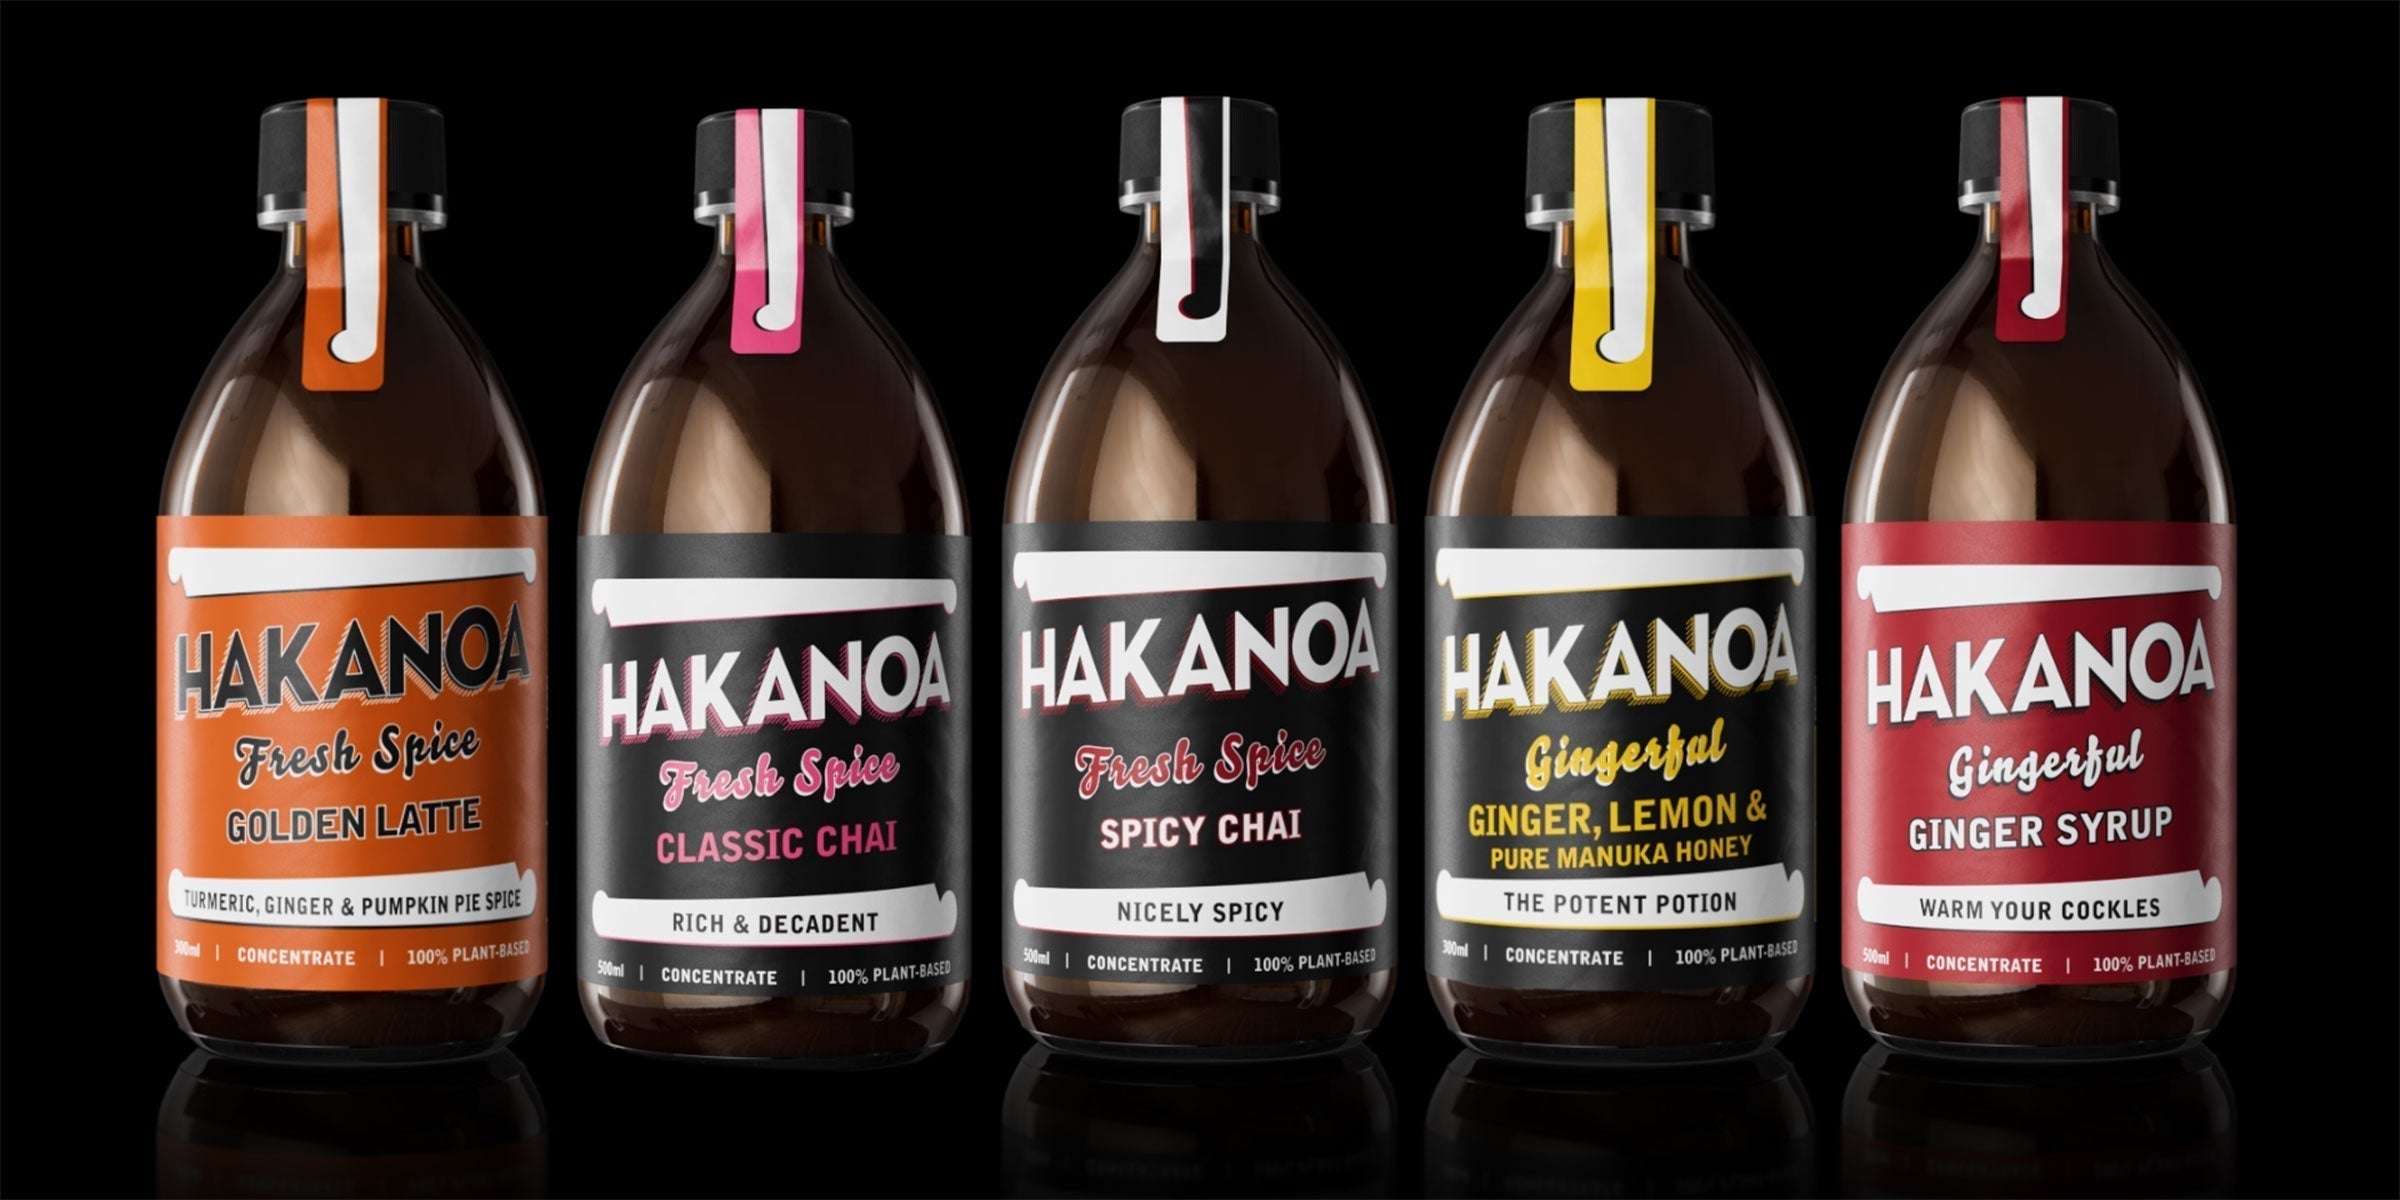
Or you can use 480mls Hakanoa Ginger Syrup, check hakanoa-handmade.co.nz to buy online.
Don’t make too much of it. Enough to share with friends and neighbours, otherwise it becomes unmanageable.
Or, just brew for special occasions. You can totally make your own bug from scratch. Start with 1 litre of water, 1 tbsp sugar and 1 tbsp ginger precisely as per the ‘building up your bug’ part of the recipe but be prepared to give it at least 2 to 3 weeks of feeding before it’s ready.
Stage 3 – Primary fermentation;
- Clean and sterilize your brewing vessel.
- If it’s made from glass, scrub well with hot soapy water, then rinse out twice with very hot water then just-boiled water. If it’s made from plastic, sterilize the same way you do your plastic bottles.
- Put the flavour base into your brewing vessel.
- Pour 90% of your bug into the brewing vessel **
- Top up your vessel (leaving at least 10% head room) with clean water to make 4.5 litres total volume.
- Cover the jar, let gas out all the time but stop most air getting in.
- Ideally use a gas exchanger – available from all brew-shops.
- Now taste it every day – and give it a jolly good stir – until it tastes pretty much how you want it to be but a bit flat.

Stage 4 – Bottling & Secondary ferment;
- Wash & sterilize your bottles.
You’ll need a bottle brush for cleaning your bottles. Friction is the most important part of cleaning, as mould WILL hibernate in tiny particles left in the vessel, and that mould will make your ginger beer taste yukky. Like used gym socks. Once your bottles have been washed and rinsed, drain them upside down. They can stay this way for up to a day before you sterilize them.
Sterilize the bottles about half an hour before you are ready to fill them.
- you can either put your sterilising solution on a spray bottle and spray the inside of each bottle and lid well so all the inside surface is wet.
- Or you can fill each bottle with the solution and put the lid on.
- Either way, let the bottles & lids sit for 20 mins for the sterilizer to do its work. emptying out the solution or for the sprayed bottles which should have less than 5mls of solution in them, leave it there.
- These solutions will burn – just like bleach – if left on your skin, so wash off any solution that lands on you.
Sterilizing solutions;
Option 1. use ‘no-rinse sterilizer’ available at brew shops. Follow instructions on bottle to make up solution.
Option 2. get a small bottle of 3% hydrogen peroxide from the pharmacy. Handle very carefully as this will burn you and everything else if you spill it. Dilute 1 tsp in 500 mls water. Put the solution in a good spray bottle that will create an even film of spray. and Make this solution fresh each time you intend to use it, as it will be have converted pure water by the next day.
- Use plastic soft drink bottles ideally, most glass is simply not safe for home brewing.
- Add a little extra sugar to your brew just before bottling – to taste.
- Add enough to make it just a bit sweeter than you like it, because some of that sugar will get ‘eaten’ to make the bubbles.
- Add extra flavours here – If you are adding a tablespoon or less of your extra flavour to each bottle and drink within a week, then raw juices are fine, but if you want more intensity then it’s better to cook and concentrate extra flavours before adding or you’ll risk making explosive hooch.
- Fill each bottle leaving a little bit of head room. Leave sediment in the bottom of the brew vessel, it’s better to chuck away the last half a litre of dregs. A tiny bit of sediment in the bottle is ok, but a lot of sediment will make your bottles explode.
- Put aside for at least 12 hours before trying.
- Once it tastes good – CHILL IT STRAIGHT AWAY.
- Drink it while it’s good – between 5 and 15 days – or lose it. By lose it I mean eventually it will become too explosive so it’ll foam out of the bottle or spray all over the place, and what you do manage to save will taste yuk.
- Be SUPER-CAREFUL when opening a bottle after secondary fermentation as pressure builds and the drink will be fizzy. Open the lid a little at a time to release excess pressure.
- Never point a bottle at your face (or at any other person) while opening.
- Never hand a bottle to a child to open.
Chill it straight away – you can set the thermostat on a freezer to 0c and that will keep your ginger beer in stasis for a long time. Colder will make it explode. Any warmer and it will ‘creep’ which means it will keep eating sugar and keep turning into CO2 and alcohol and lactic acid.
Other than that, you can’t stop your ginger beer fermenting at home. At Hakanoa, we pasteurise our bottles – give them a hot water bath that’s just hot enough to kill the microbes but not hot enough to cook the ginger beer. That process it needs a boiler and a thermostat that can create a gradual rise in temperature and a stainless steel tunnel or box so the inevitable occasional exploding bottle doesn’t hurt anyone and a really big food-grade warehouse and an engineer and a food technologist and it cannot be replicated at home.
The pressure created by the CO2 can be phenomenal. Even in plastic bottles, this will be expressed by ginger beer covering you and your surroundings. There won’t be any left to drink.
Also, of course, there is the alcohol you are making. The legal limit for a brewed soft drink in NZ is 1.15%. We HAVE to keep our Hakanoa Ginger Beers below that limit or we’d be out of a job. Your probiotic home brew could make anywhere from 1% to 3%. If you feed it enough sugar it could get really boozy. Once, just once, I accidentally made a friends 5-year old son tipsy. It was a hot day and the little guy drank 2 ginger beers within 15 minutes. They were probably between 2 and 3%. Luckily his mum forgave me. But you will have to be careful – don’ leave it long enough to get boozy, and don’t give kids more than 1.
Making good ginger beer or sourdough bread or any ferment is about you. About having a rhythm that you can manage, one where you can tend your ‘bug’ so it will flourish, and then use most of it to brew with when it’s flourishing and then let the remainder grow until it’s flourishing and so on and so on.
If you can’t brew with it one week, tip the 90% bug down the sink and refresh it again as though you had brewed. Keep that rhythm going. You can chill it for a few days to slow it down, but you will need to give it an extra day or so of feeding to build it up again as the cold will have killed much of the microbial colony.
Don’t make too much of it. Enough to share with friends and neighbours, otherwise it becomes unmanageable.
Or, just brew for special occasions. You can totally make your own bug from scratch. Start with 1 litre of water, 1 tbsp sugar and 1 tbsp ginger precisely as per the ‘building up your bug’ part of the recipe but be prepared to give it at least 2 to 3 weeks of feeding before it’s ready.

OR REALLY GOOD GINGER BEER, THE EASY WAY
I used to love making sourdough bread at home. A regular weekly bake fitted in nicely with my desk job.
Once I started Hakanoa Handmade Drinks I just didn’t have the regular hours at home or the mental bandwidth to keep it going.
So now I buy wonderful sourdough loaves from Bread & Butter Bakery or from Daily Bread instead.
If your ginger beer situation is similar to my bread situation, we can help.